

Electric Motorcycle Part 2 – Donor bike disassembly and component placement
Category : Uncategorized
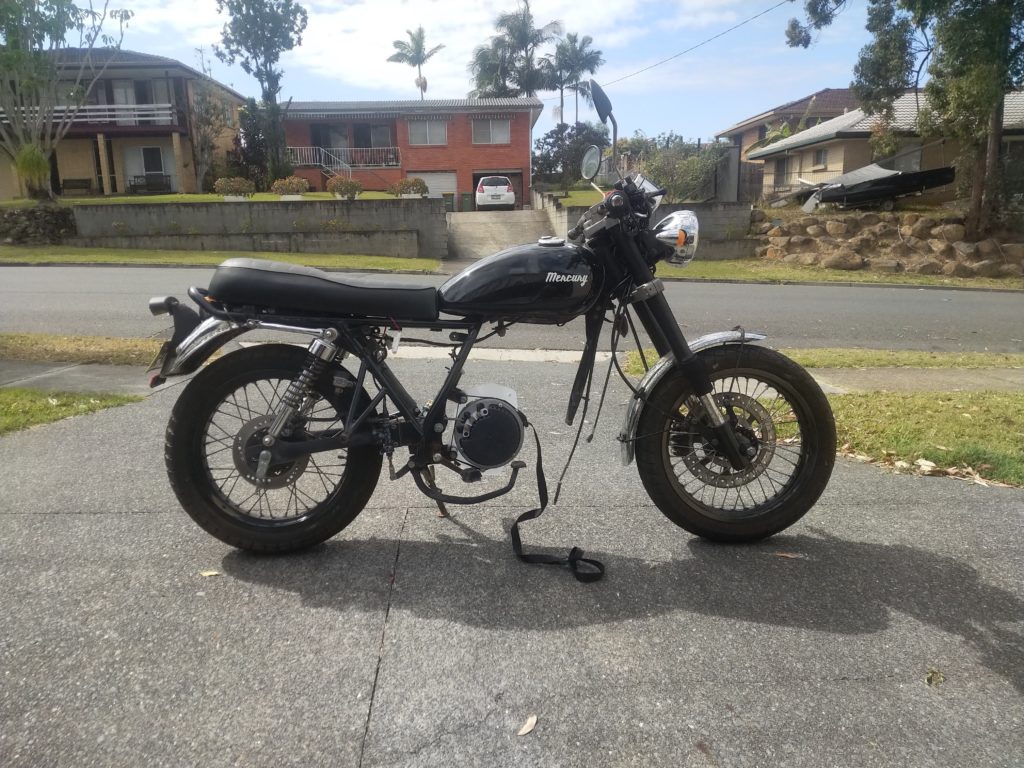
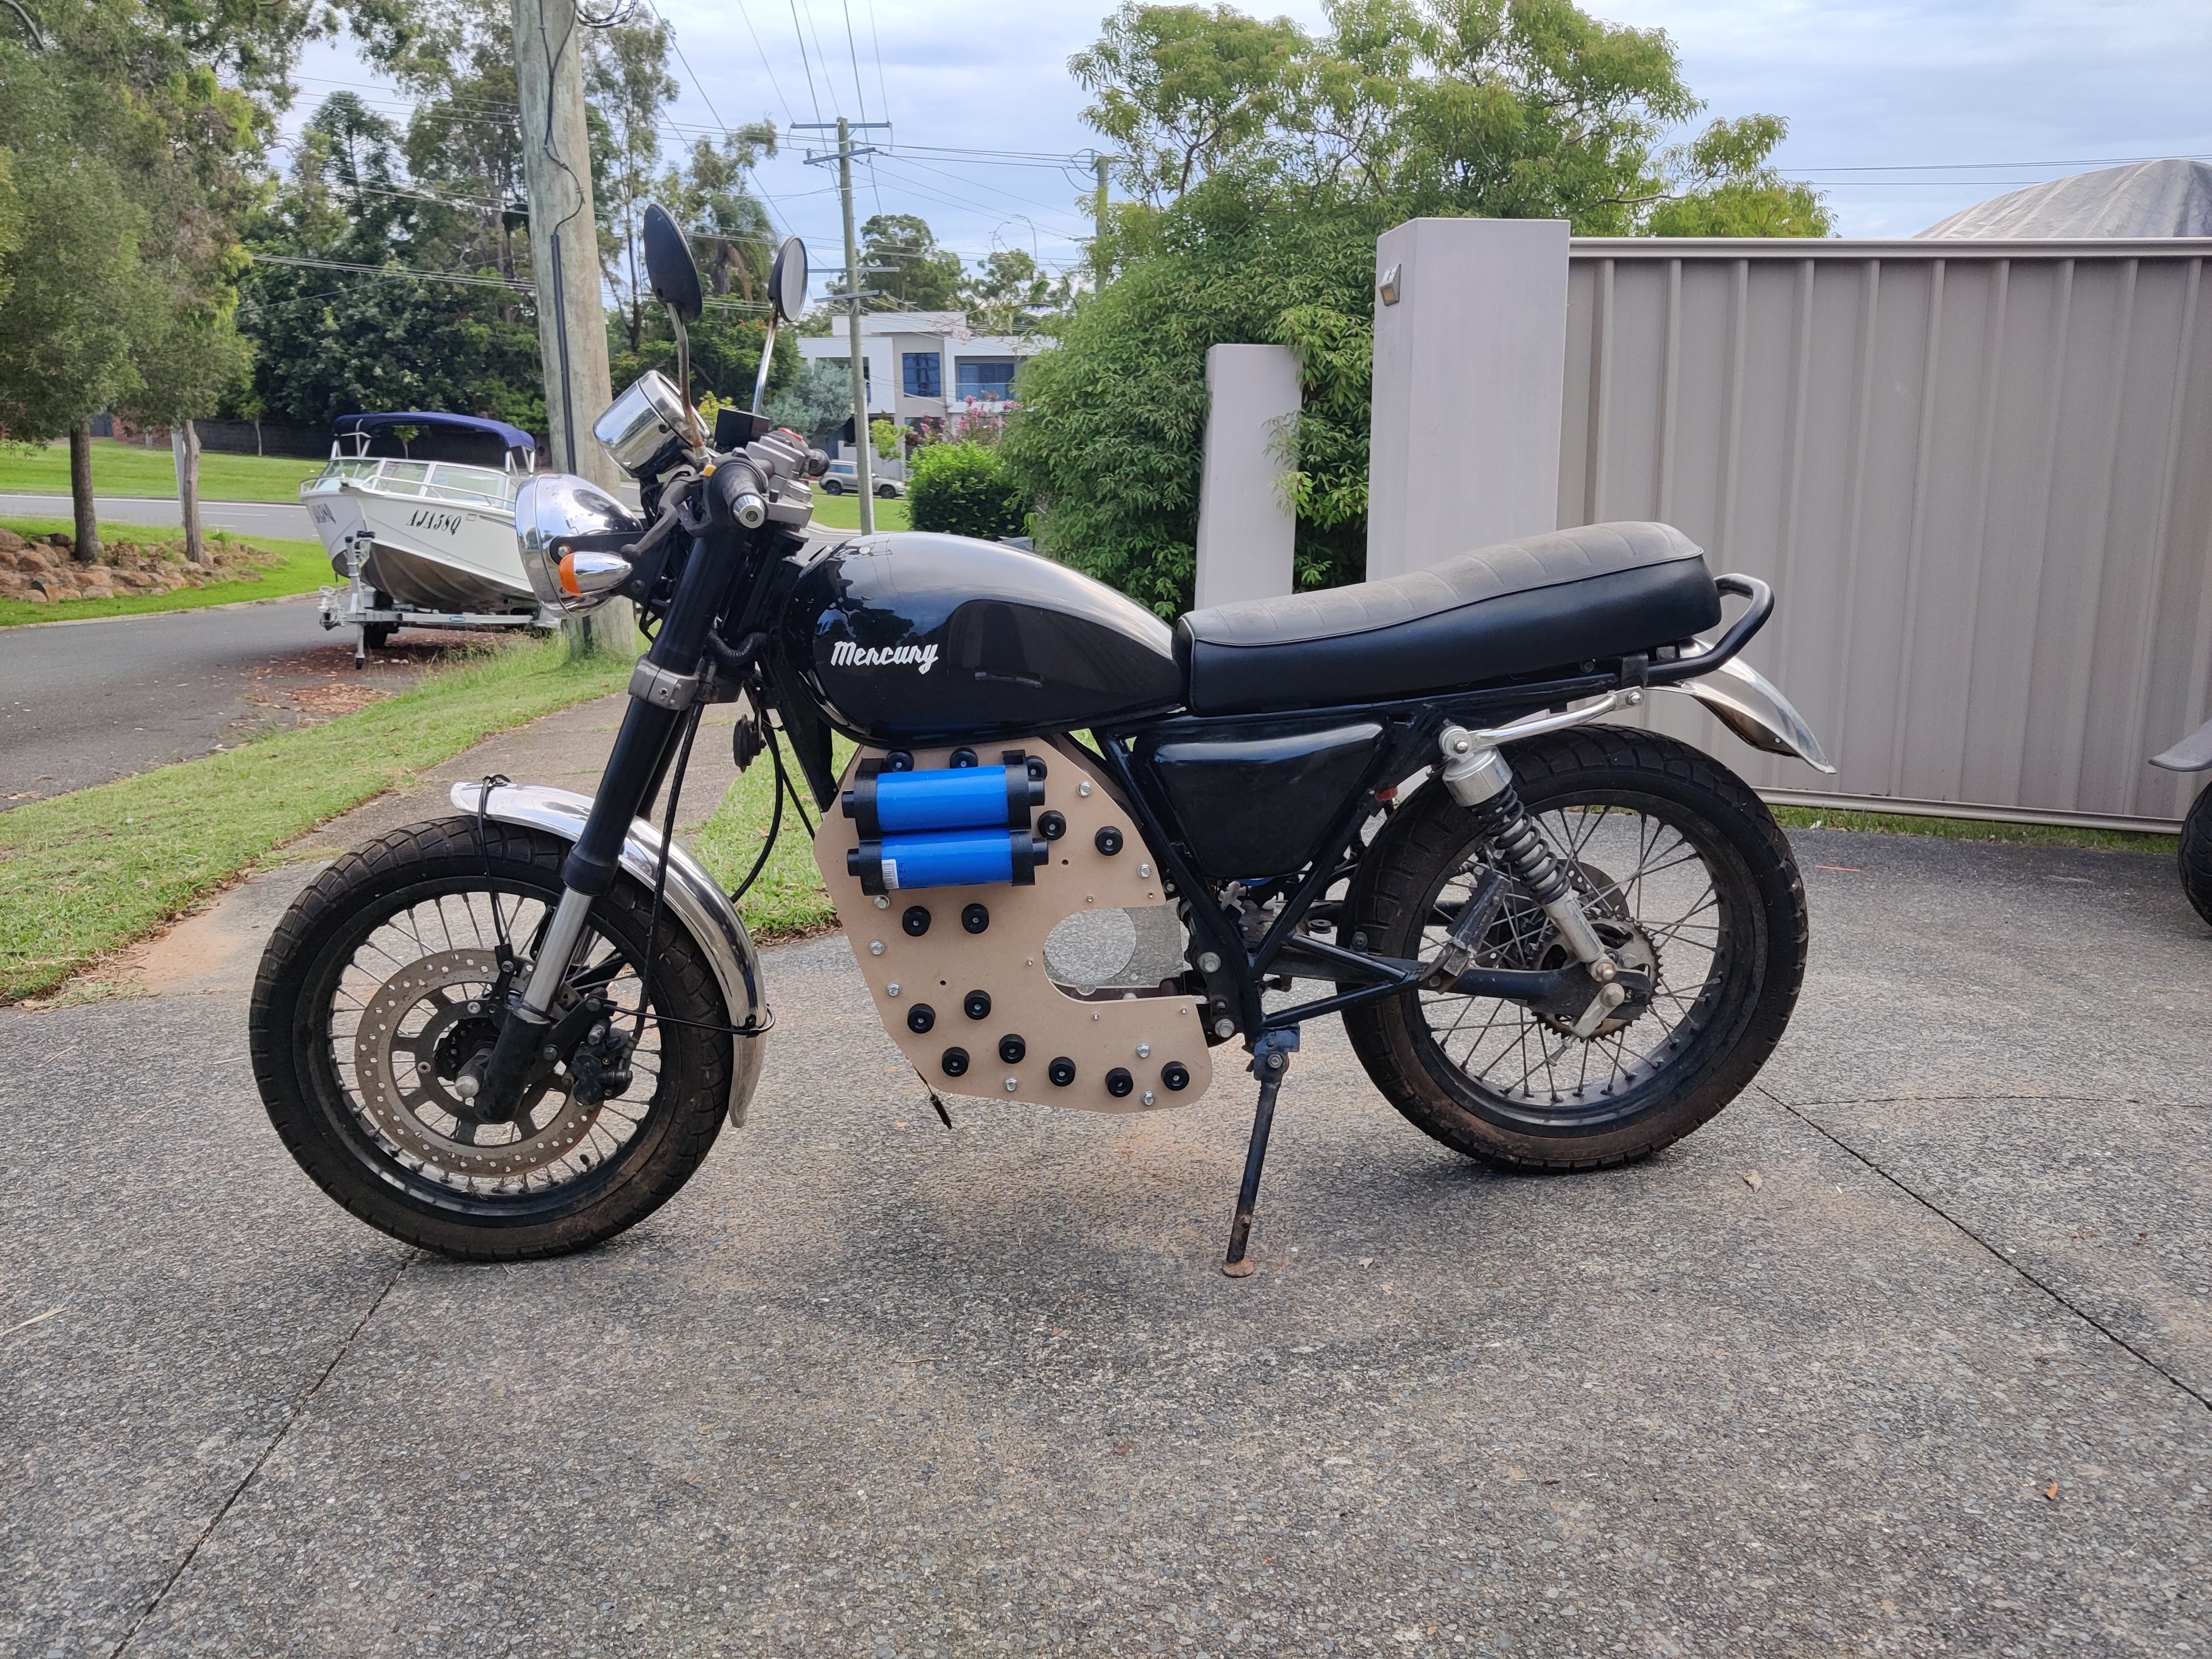
It’s been a while since I posted part 1 of my build, and things have been slowly progressing. Here I will show some of the disassembly process, and the basic mock up of the component placement.
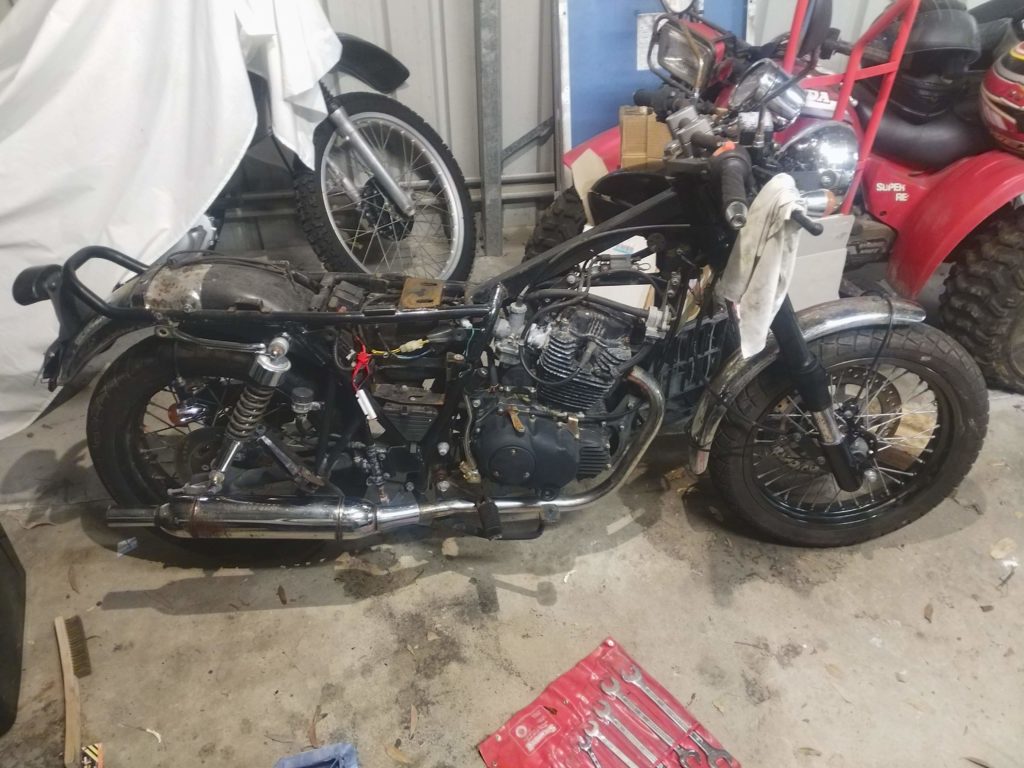
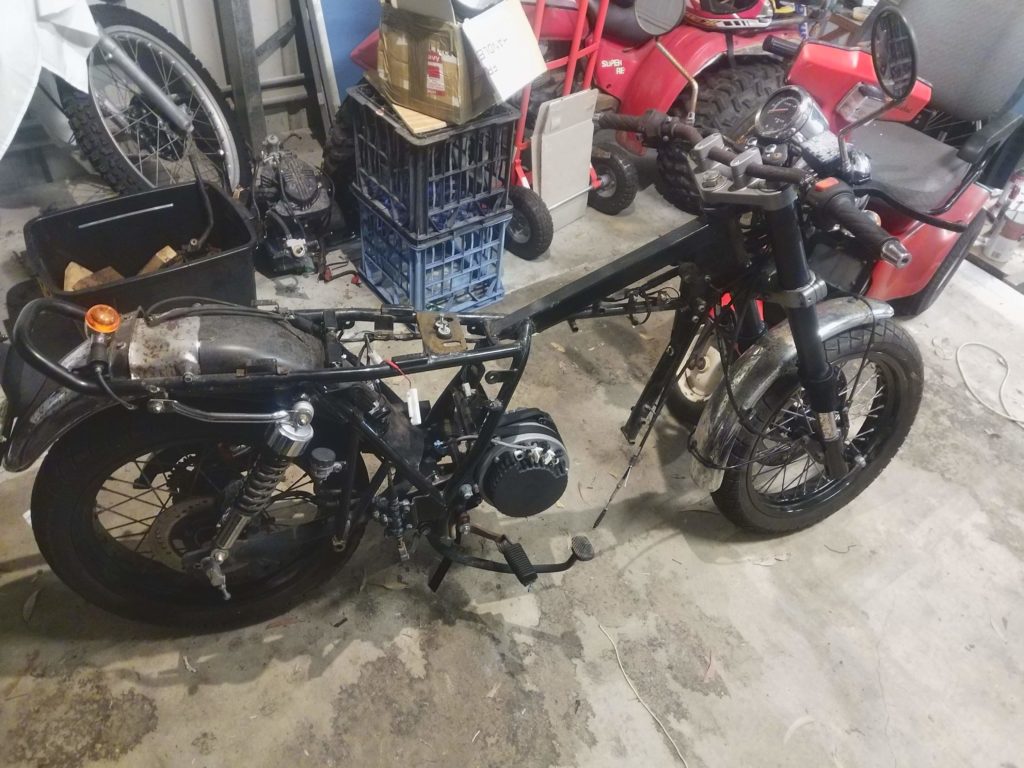
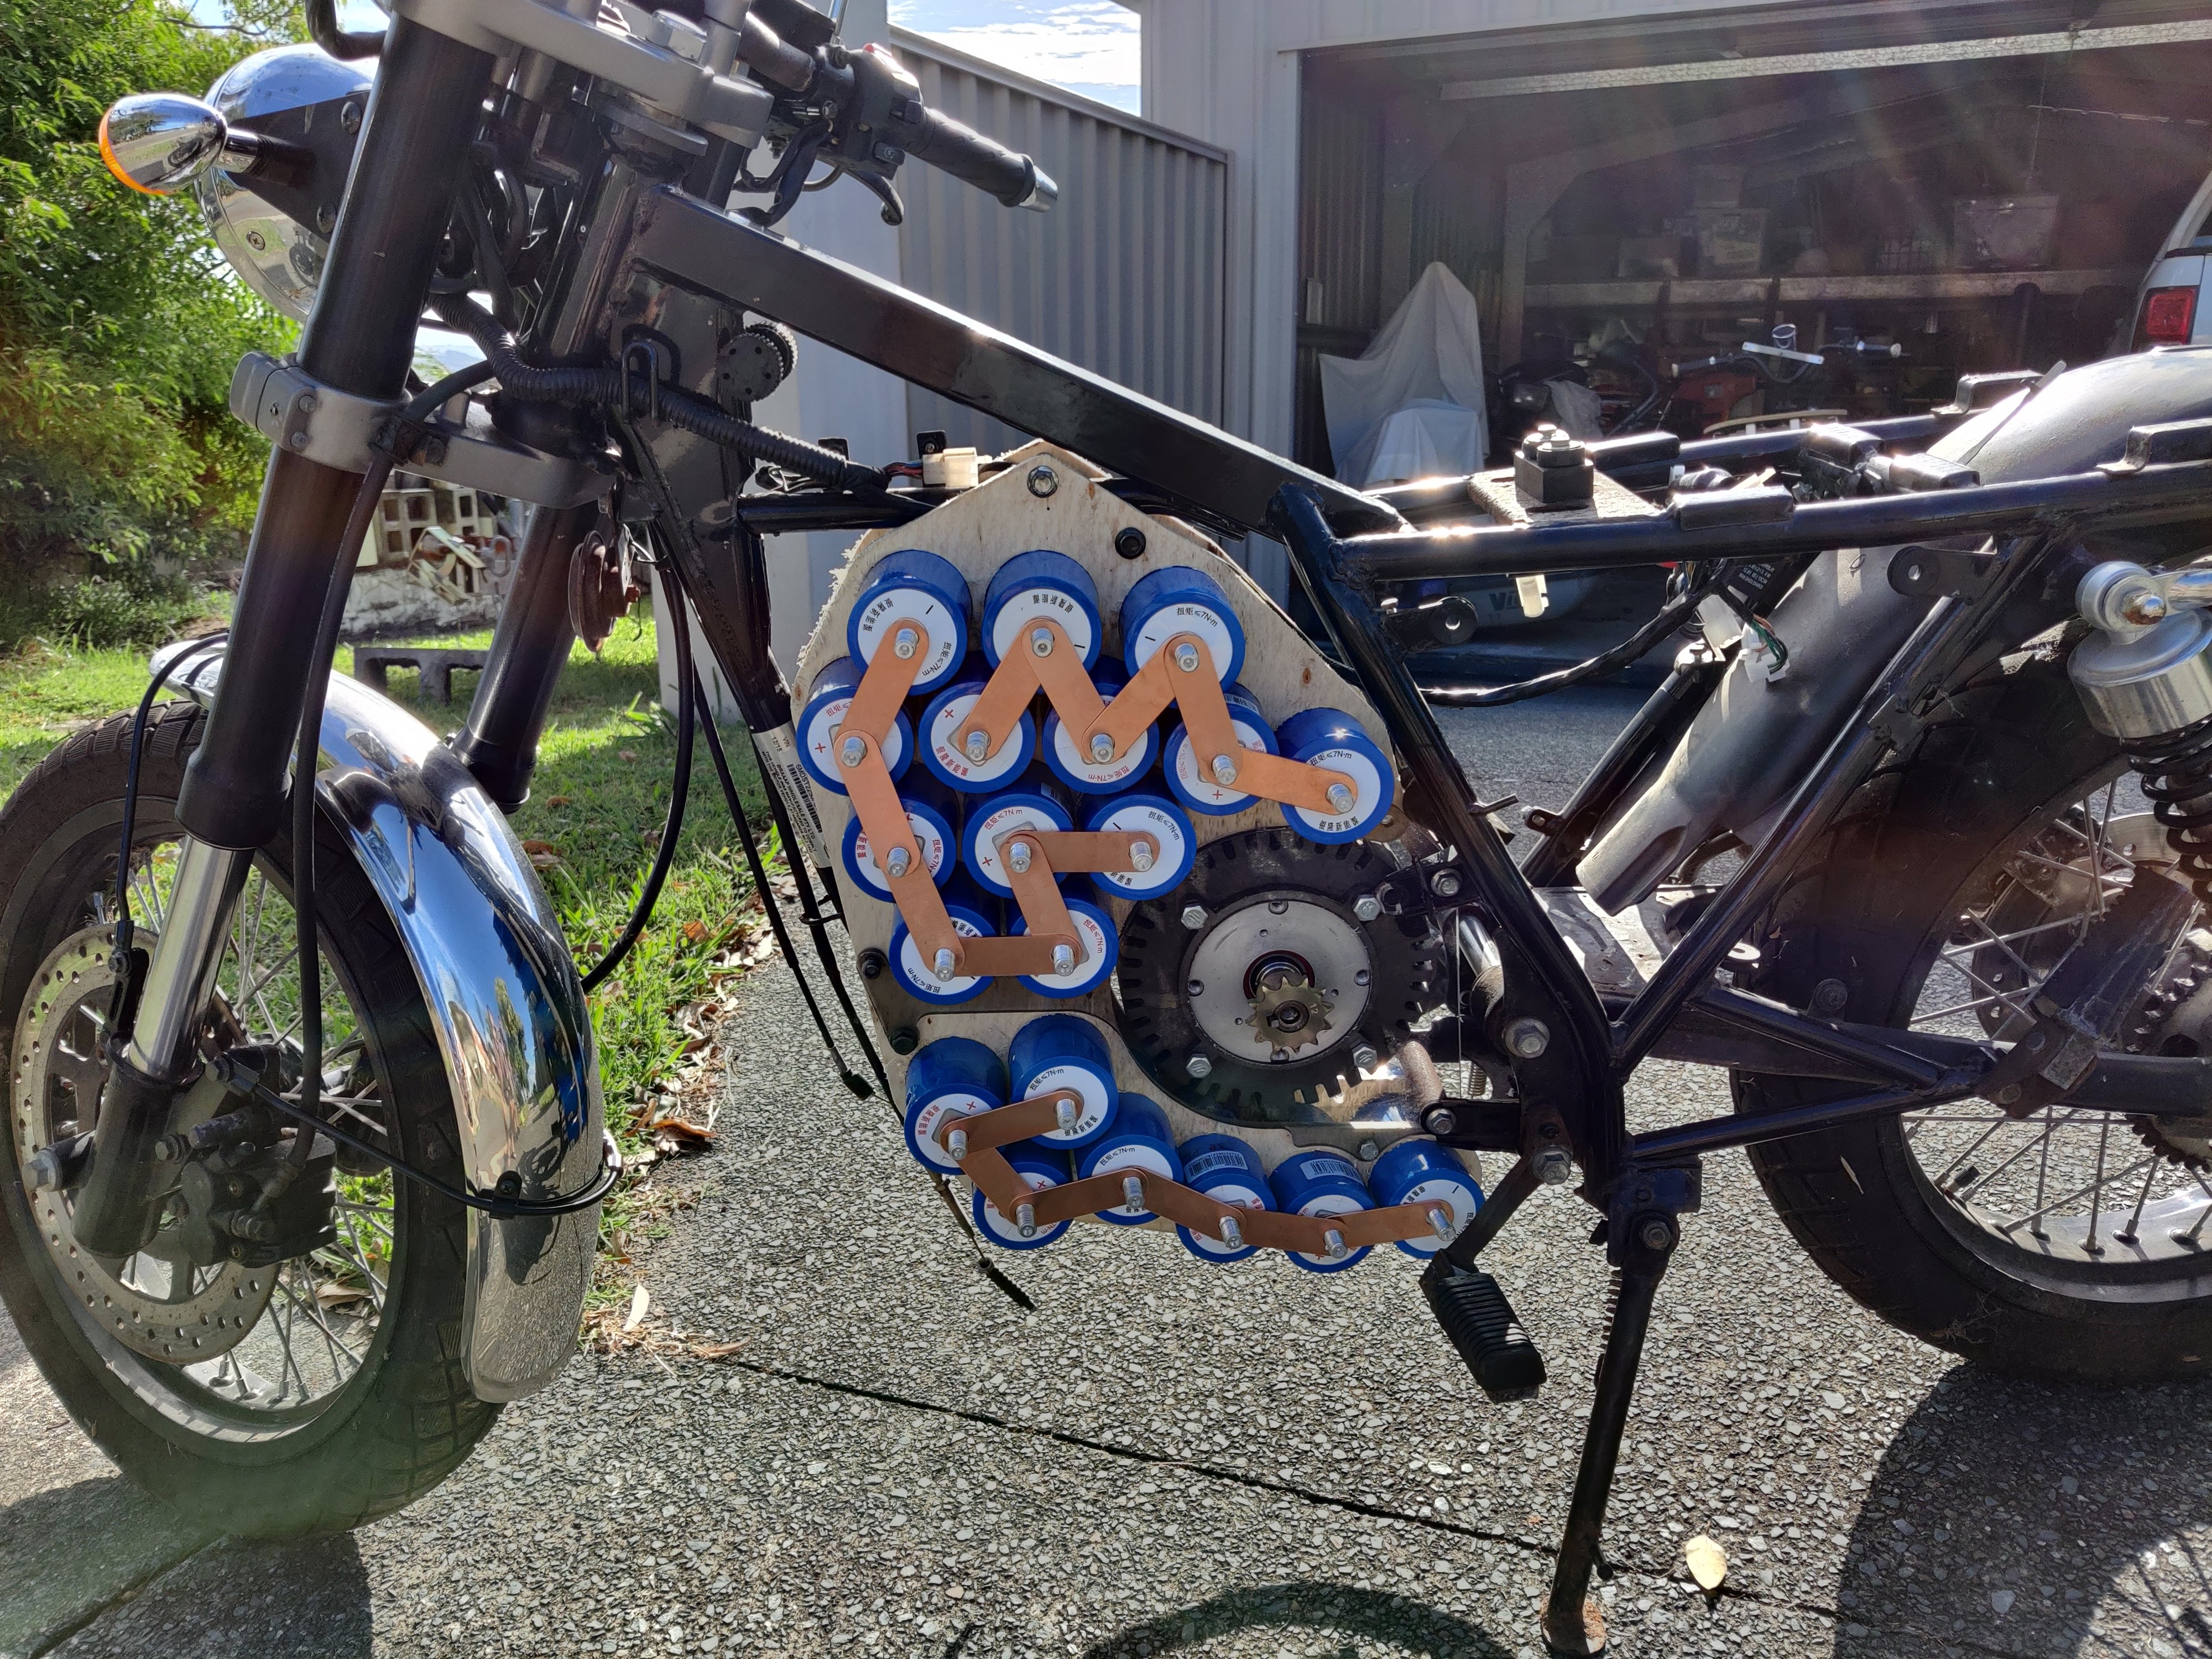
The fuel tank, seat, exhaust, engine, gearbox, fuel and battery systems were all stripped out of the frame. I then tried to mock the position of the motor to get an idea of how the engine mounts would work. I tried a few different designs which I initially cut out of plastic just to get the sizing right.
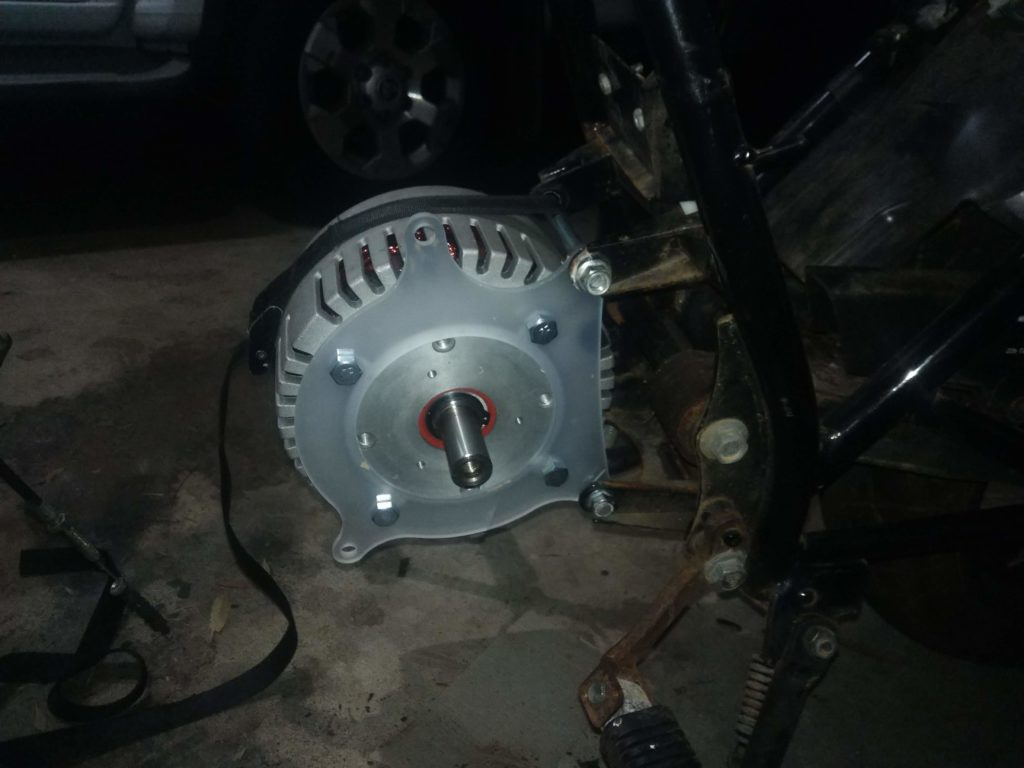
The first two designs were unsuccessful. The first was far too flimsy when mounted, and the second did not correctly reinforce the frame of the motorcycle. By the third attempt, I had something that looked like it would work.
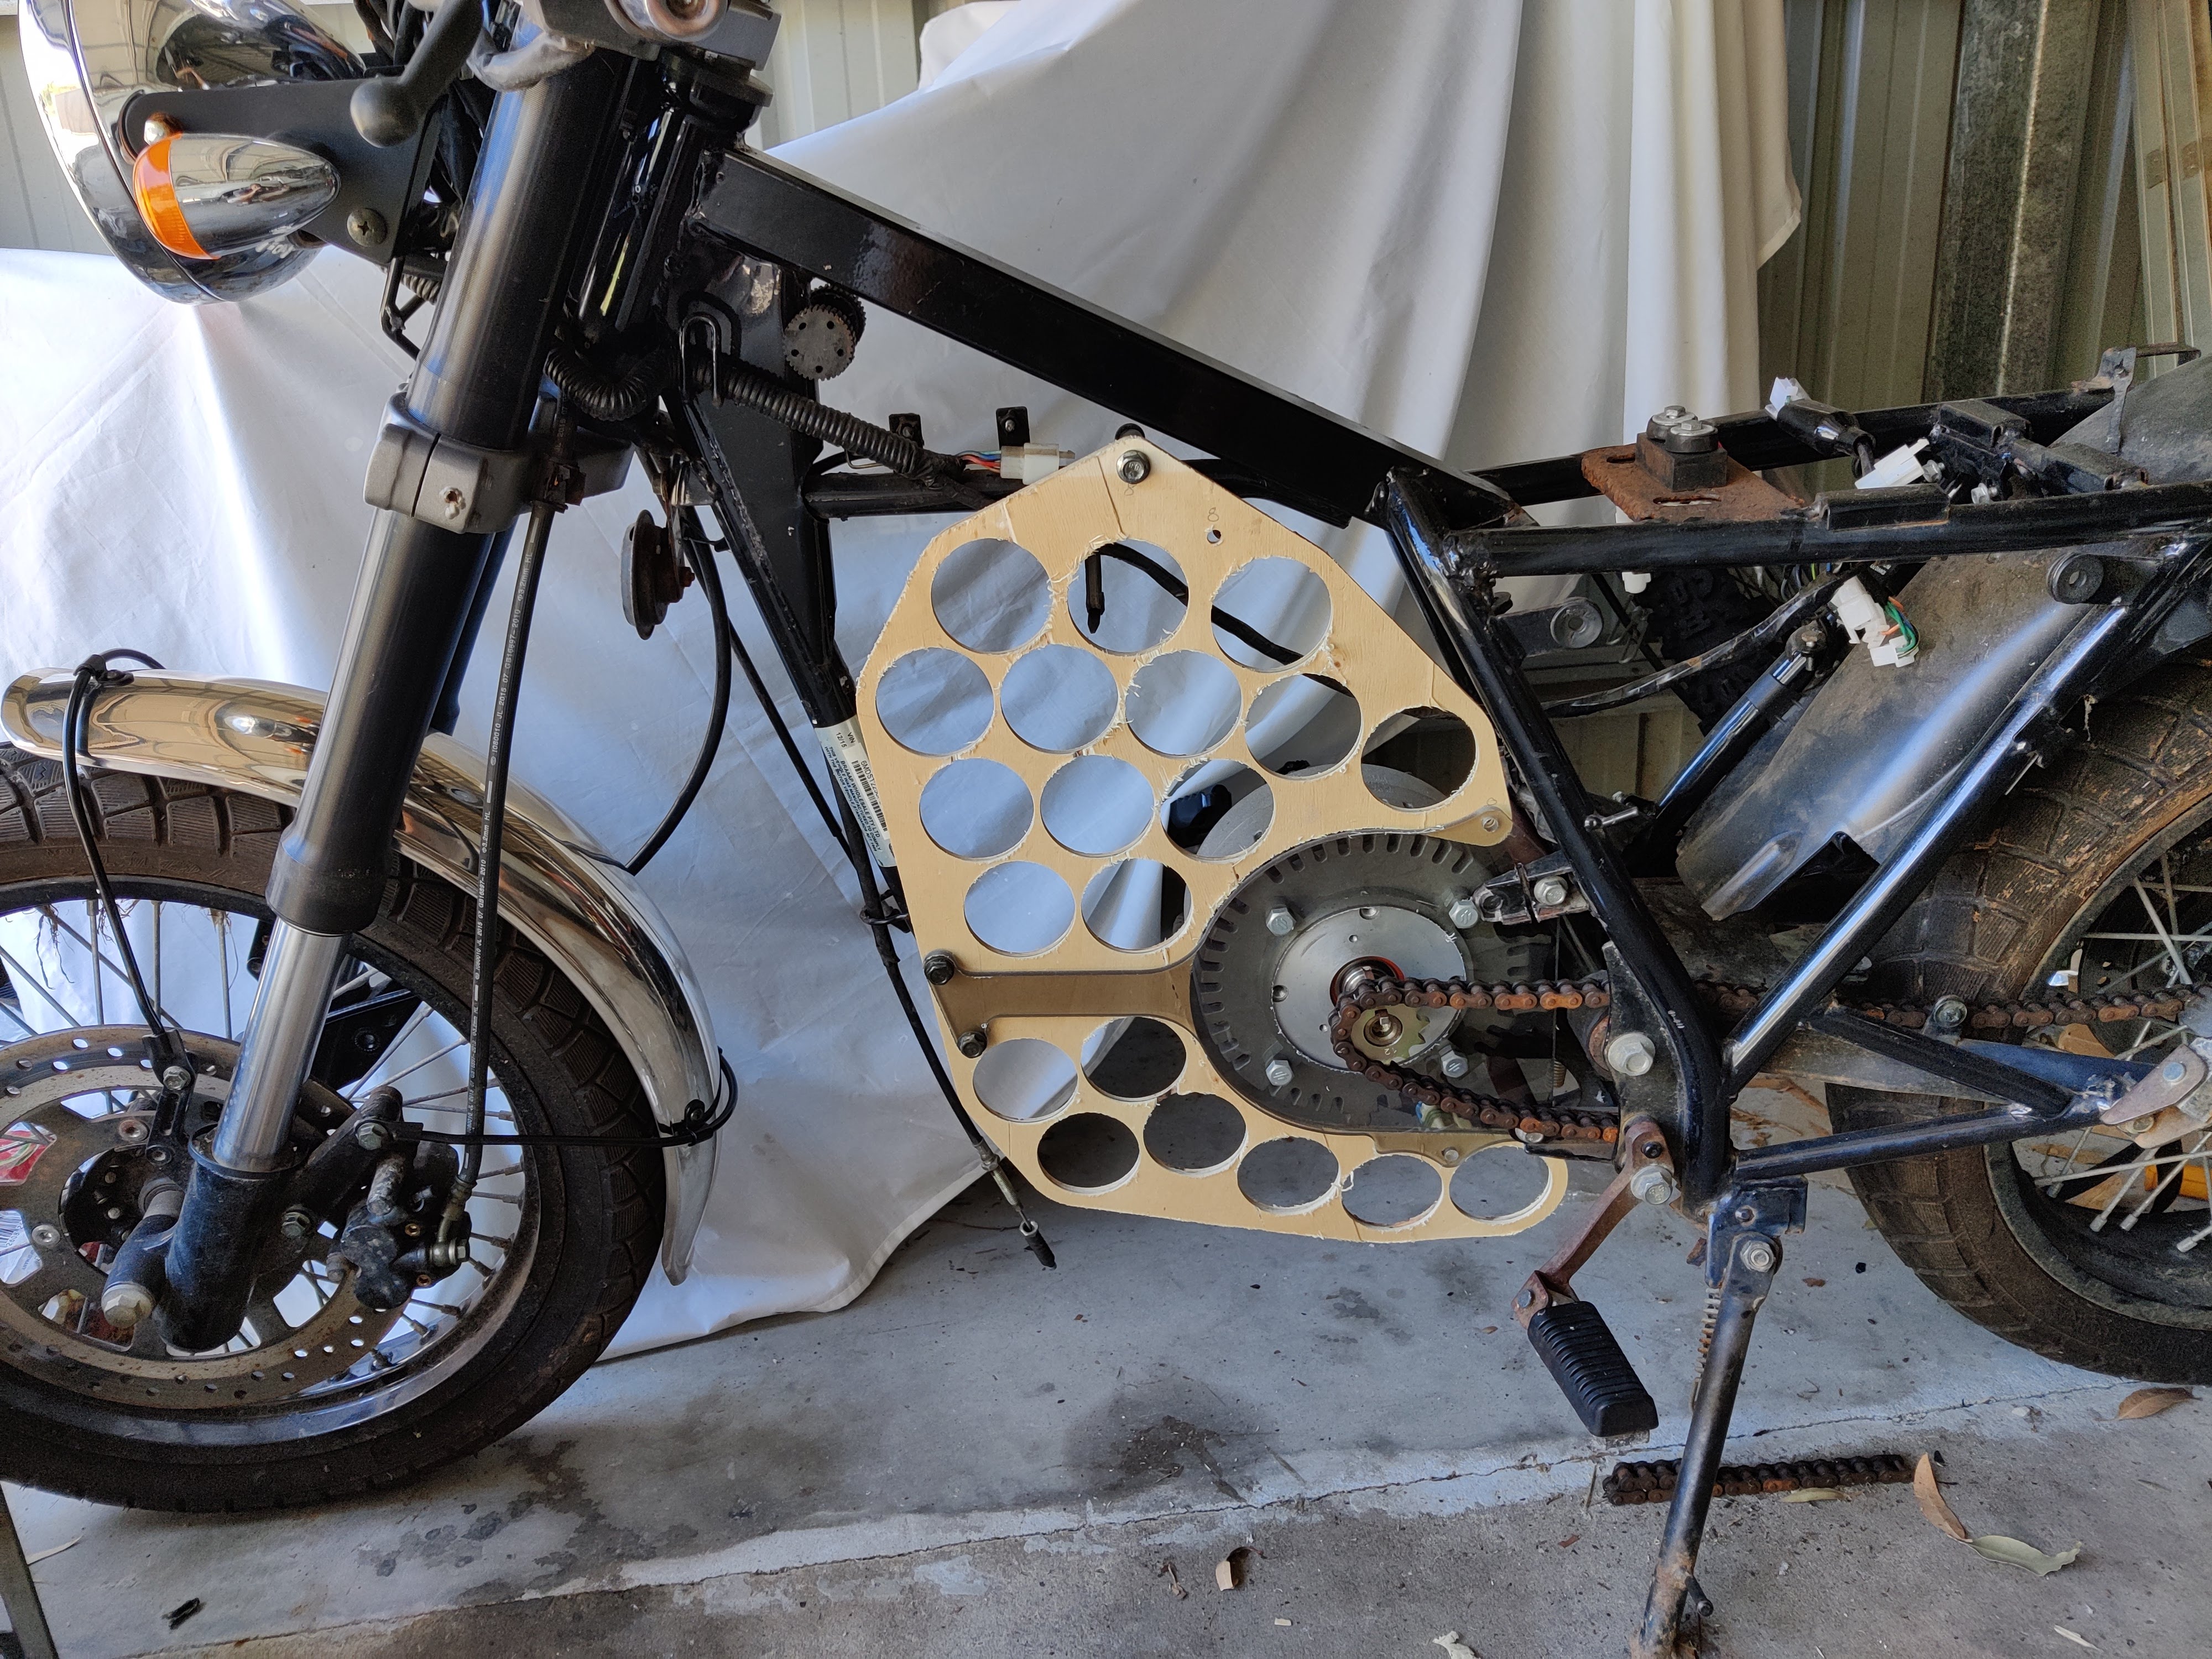
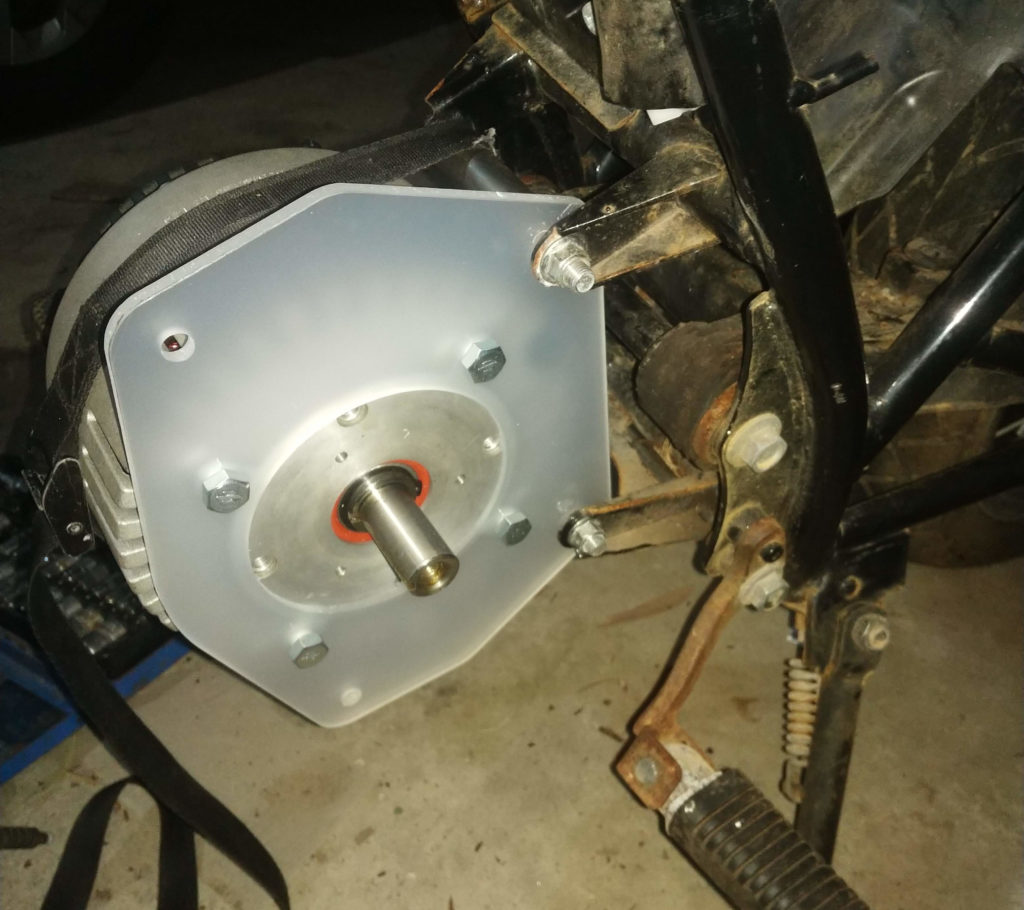
Initially I cut the components on my CNC machine in plastic and timber because they were much easier and cheaper to work with than the steel and polycarbonate materials from which the finished design will be constructed. These mock components allowed me to work out how everything would fit together, and were easy to re-make when I discovered issues with the construction.
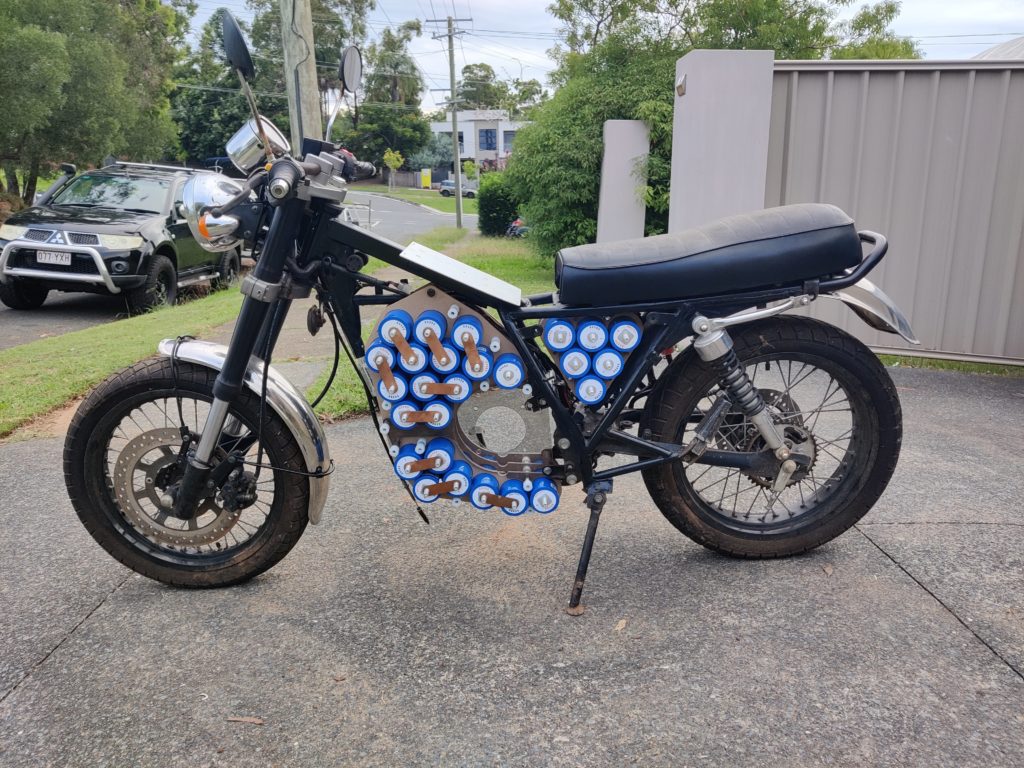

Now that I have the position of the major components mocked up I can start manufacturing the finished parts out of their final material. Stay tuned for part 3 where I start the final assembly.